Browse to your VSP using the IP Address you configured in 3PAR StoreServ 7000 Hardware – Part 2 and login with your credentials. A quick side note you may here the term SPOCC banded around quite a bit it stands for ‘Sevice Processor Onstie Customer Care’. Any how, click on SPMaint

Select Inserv Configuration Management
Guess what we need to Add A New InServ

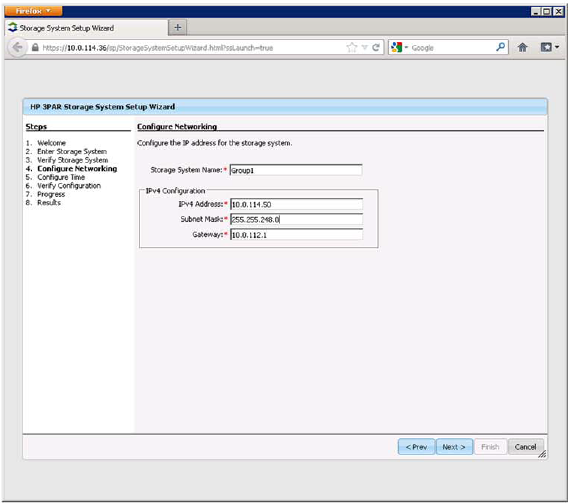
Enter the IP Address of your StoreServ 7000


Man Down – Replacing a Failed Hard Drive
The StoreServ has a feature called ‘Guided Maintenance’ this essentially shows you how to perform a number of tasks e.g. replace a DIMM, Fiber Channel Adapter. This can be found under Support > Guided Maintenance

Perhaps the most common failure you will encounter is replacing a fauly disk. This can be done via the CLI by SSH onto your StoreServ or via the VSP by going to SPMaint > Execute a CLI Command and entering ‘servicemag status’.

If you did have a failed disk, you will be told which Cage and Magazine has a failure and that the Magazine has been taken offline to allow you to replace the faulty HDD. Once you have replaced the disk, give it 15 minutes and re issue the servicemag status command and when complete you will see ‘No Servicemag operations logged’.
You can also check via the GUI in the 3pAR Inform Management Console by going to ‘System’ > Physical Disks > and then looking down the cages.

Double check the HDD if Failed and that Free Capacity and Allocated Capacity is displayed as all zeroes. If this is the case, then pop the badboy out and pop a new one in.
Man Down – Servicing a Power & Cooling Module (PCM)
This is only available via SSH onto your StoreServ or via the VSP by going to SPMaint > Execute a CLI Command
To confirm if the PCM is down issue the command shownode -ps
As you can see mine are OK, however, if you had a failure then replace the SPM and run the command again until you see both PCM are OK. Note this can be done live without any downtime.

Man Down – Replacing and Power & Cooling Module (PCM) Battery
The Power and Cooling Module Battery is again only available via SSH onto your StoreServ or via the VSP by going to SPMaint > Execute a CLI Command.
The battery is located at the top of the PCM.
To verify your battery status issue the command showbattery

Again if it was failed replace the part and re issue the showbattery command to verify it’s healthy.
Drive Enclosure Expansion
The StoreServ 7200 is limited to five extra drive enclosures. Two can be connected via DP1 and three can be connected via DP2.
The StoreServ 7400 with two nodes is limited to nine extra drive enclosures. Four can be connected via DP1 and five can be connected via DP2. Note these figures double to a four node StoreServ 7400.
You might be thinking why does DP2 have more connections? Well the answer if that DP1 is also responsible for the internal connections, which evens things out.
The procedure to add an additional drive enclosure is:
- Rack the Drive Enclosure
- Install Power & Cooling Modules
- Power On
- Install Hard Drives
- Run command ‘servicecage startfc’ this will move all I/O to Node 1 (remember Node 0 is the first Node)
- Connect the SAS cable, the first connection should be out IFC 0 and in IFC0 on the new Drive Enclosure
- Run command ‘servicecage endfc’ and this will restore I/O to Node 0.
- Repeat for same procedure for Node 1.
- Connect the Drive Enclosure to the Controller Nodes
One of the slightly tricky parts is the disk shelf cabling. Some rules to follow:
- Event Nodes go to Even Controllers
- Odd Nodes go to Odd Controllers
- Odd Nodes connect to the highest Disk Shelf first
- Even Nodes connect to the lowest Disk Shelf first

Run the showcage command to verify you new Disk Enclosure is recognised.

Disk Upgrade Rules
These are the golden rules which need to be followed.
- You need to add the same number of disk drives to the Drive Enclosure as are in the Node Enclosure e.g. if you are using 24 disks in your Node Enclosure you will need to add 24 disks to your rive Enclosure.
- When adding disks to a StoreServ 7200 without a Disk Enclosure they should be done in pairs and placed in the lowest slots. On a 2.5″ Disk Enclosure this is left to right. On a 3.5″ Disk Enclosure this is per column left to right and top to bottom within the column.
- For a StoreServ 74000 without a Disk Enclosure four node system the same rules apply except you have to add four disks at a time.
- If you have a StoreServ 7200 with a Disk Enclosure. You would need to add a minimum of four disks. Two to the Node Enclosure and two to the Drive Enclosure.